Furniture Paint: A Small-Room Refresh Guide
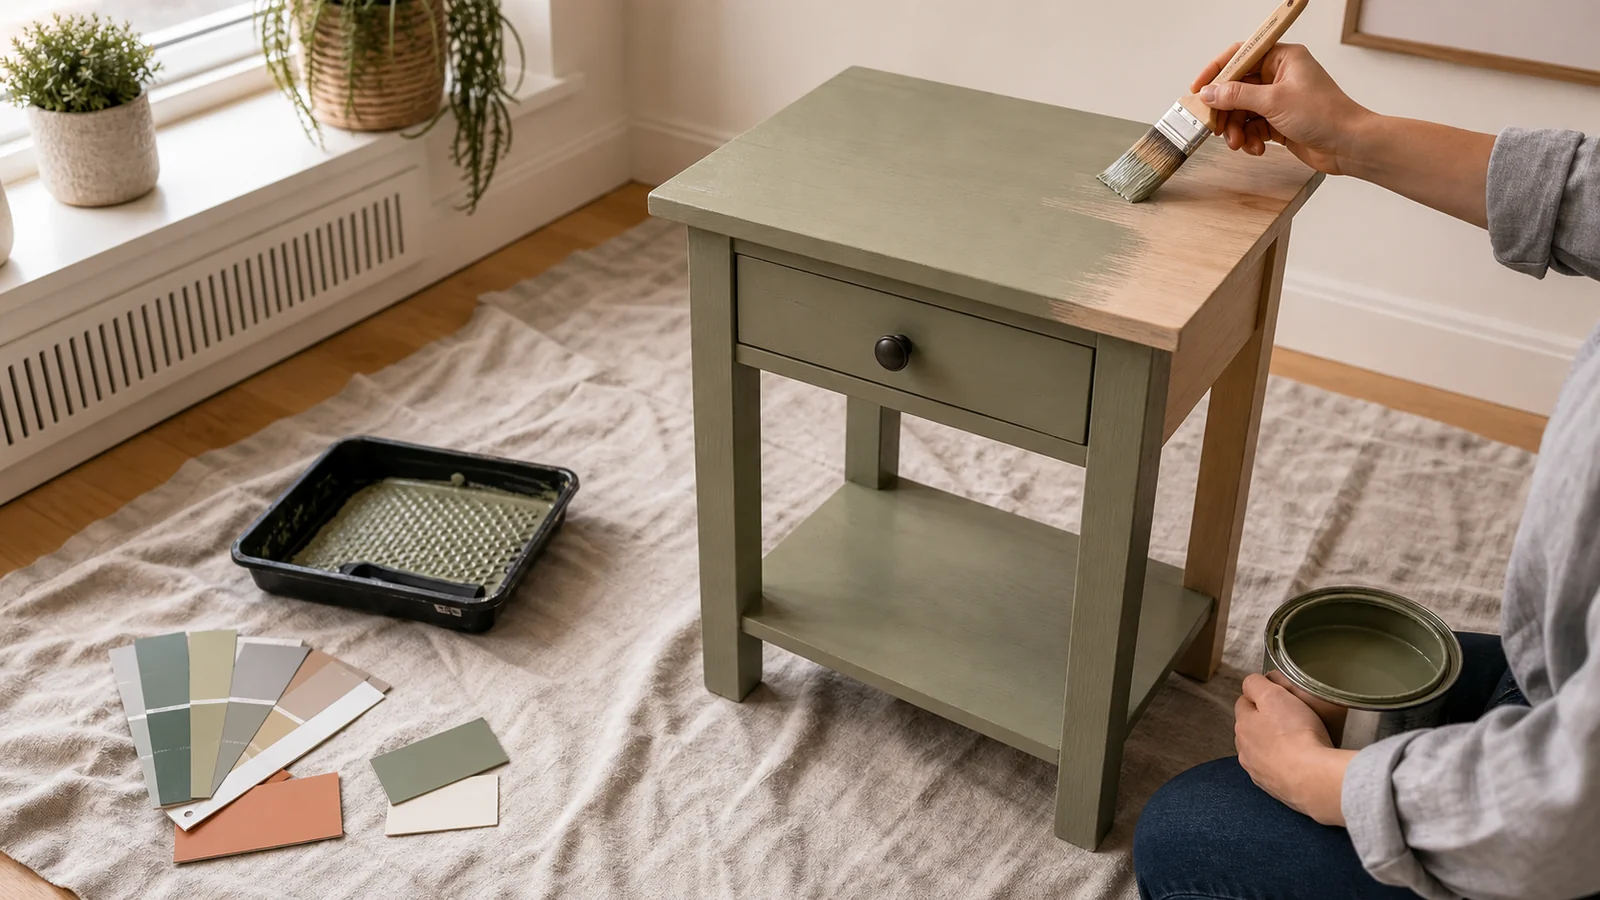
Paint one useful piece before you paint everything
Furniture paint can change a small room quickly. A dark nightstand can become softer, a scratched side table can stop feeling temporary, and a secondhand dresser can work with your bedding instead of fighting it. In a compact home, though, painted furniture needs restraint. Too many painted pieces can make the room feel busy, especially when each piece has a different finish.
Start with one useful piece. Choose something that already fits the room: a bedside table, small dresser, stool, console, side table, or chair frame. Paint should make a working piece easier to live with, not rescue furniture that is the wrong size, unstable, or unsafe.
This guide helps you choose furniture paint, prepare the surface, and finish the piece without turning your apartment into a long renovation zone.
Choose the paint by use, not only color
The best furniture paint depends on how the piece will be touched. A decorative mirror frame, a hallway console, a dining chair, and a child’s dresser do not need the same finish.
Common furniture paint options include:
| Paint type | Works well for | Watch for |
|---|---|---|
| Chalk-style paint | Matte, soft, vintage-looking pieces | Usually needs wax or topcoat for durability |
| Milk paint | Layered or old-world texture | Can be unpredictable and may need mixing |
| Acrylic or all-in-one paint | Simple DIY projects with fewer products | Still needs good cleaning and cure time |
| Latex wall paint | Low-cost color matching | May need primer and topcoat for furniture wear |
| Hybrid alkyd enamel | Smooth, durable furniture and cabinets | Longer dry or cure time, stronger prep needs |
| Oil-based paint | Hard, durable finish | Odor, cleanup, and yellowing concerns |
For a small room, low-odor water-based options are usually easier to manage. They dry with less disruption, clean up more simply, and are more comfortable indoors. For a high-touch surface, durability matters more than the prettiest matte finish.
Decide whether the piece is worth painting
Paint is not a cure for every furniture problem. Before buying supplies, inspect the piece carefully.
Good candidates:
- Solid wood or stable veneer.
- Simple shapes.
- Small tables, dressers, stools, and chairs.
- Structurally sound frames.
- Light scratches or dated finishes.
- Pieces that already fit your room.
Poor candidates:
- Wobbly chairs.
- Swollen particleboard.
- Strong odors inside drawers.
- Peeling unknown old paint.
- Loose veneer across large areas.
- Heavy carved pieces you do not love.
- Furniture that blocks the room even after painting.
If the piece needs structural repair first, handle that before paint. Our furniture repair guide can help you decide whether repair makes sense.
Treat old paint with real caution
Older painted furniture can be beautiful, but old paint can also be risky. In the United States, lead-based paint was restricted for residential use in 1978, and public health guidance still warns DIYers about lead dust from renovation and repair work. Vintage and antique furniture may have unknown paint layers, especially if the finish is chipped, scaly, or likely to be sanded.
Do not sand, scrape, or strip unknown old paint in your living room. If the piece may contain lead, test it, ask a professional, or choose a different project. The EPA’s lead-safe DIY guidance focuses on determining whether lead is present, containing the work area, minimizing dust, protecting yourself, cleaning carefully, and controlling waste.
For small homes, the safest choice is often simple: skip questionable old painted pieces unless you can handle them properly. A newer unfinished wood piece, a stable stained dresser, or a clean secondhand table is easier to paint without turning the whole room into a hazard zone.
For older furniture shopping, our vintage furniture guide and antique furniture guide explain more about finish caution.
Step 1: Set up a small, controlled work zone
Painting furniture in a compact home is possible, but the work zone needs boundaries. Choose a ventilated room, balcony, garage, or covered outdoor area if the product allows it. Lay a drop cloth that extends beyond the furniture. Keep pets, children, laundry, rugs, and soft furnishings away from the wet finish.
Gather:
- Drop cloth.
- Screwdriver.
- Painter’s tape.
- Cleaner or degreaser suited to the surface.
- Sanding sponge or deglosser, if appropriate.
- Tack cloth or microfiber cloth.
- Primer, if needed.
- Paint.
- Brush, foam roller, or sprayer.
- Topcoat, wax, or sealer if required.
Remove hardware, drawers, cushions, and loose shelves before painting. Label screws in a small bag so the project does not sprawl across the room.
Step 2: Clean before you sand
Paint fails when it sits on dust, wax, oil, polish, hand grime, or cleaner residue. Clean first, then decide whether sanding is needed.
For most stable wood or veneer furniture:
- Vacuum dust from cracks.
- Wash with a suitable cleaner.
- Rinse or wipe away residue as directed.
- Let the piece dry fully.
- Repair loose hardware or dents.
- Lightly scuff sand if the existing finish is glossy and safe to sand.
- Remove every trace of dust.
Do not skip dust removal. Tiny sanding dust can make a painted finish feel gritty and amateur.
Step 3: Prime when the surface needs help
Some furniture paints claim little or no primer is needed. That can be true for certain clean, matte, low-wear pieces. It is not a universal rule.
Use primer when:
- The surface is glossy.
- The piece is laminate or slick veneer.
- The wood has tannins that may bleed.
- You are covering a dark finish with a light color.
- The furniture will be touched often.
- The previous finish is uneven.
- You want a smoother, more durable result.
Choose a primer compatible with both the surface and the paint. Let it dry according to the label. In humid weather or a room with poor airflow, rushing the next coat can cause dragging, peeling, or a soft finish.
Step 4: Paint thin coats
Thin coats usually look better than one heavy coat. Use a good brush for corners and details, and a small foam or microfiber roller for flat areas if the paint allows it. Keep a wet edge, watch for drips under edges, and let each coat dry before the next.
For smoother results:
- Stir paint well.
- Work in good light.
- Paint drawers separately.
- Check lower edges for drips.
- Lightly sand between coats if the product recommends it.
- Remove dust before each coat.
- Keep hardware holes clear.
Do not judge the color by the first coat. Many furniture paints look uneven until the second coat, primer, or topcoat settles the finish.
Step 5: Seal only when the finish needs it
Some paints need a topcoat. Some do not. Chalk-style paint often needs wax or a clear sealer for furniture that will be touched. Hybrid enamel may be durable on its own once cured. Milk paint can need a protective finish depending on the look and use.
Choose the sealer by the piece:
| Piece | Better finish direction |
|---|---|
| Nightstand | Durable satin or matte topcoat |
| Decorative frame | Light wax or no sealer if low-touch |
| Dining chair | Strong washable topcoat |
| Dresser top | Water-resistant protective coat |
| Kids’ furniture | Product-rated durable finish and careful cure |
| Outdoor piece | Exterior-rated system only |
Test the topcoat over the paint color on a hidden spot if possible. Some clear finishes darken, amber, or change sheen.
Step 6: Let the paint cure before daily use
Dry to the touch does not mean cured. A painted table may feel dry in hours and still be soft underneath for days or weeks, depending on the product, humidity, thickness, and temperature. Heavy books, lamps, trays, and decor can leave marks if you style too soon.
After painting:
- Wait before placing objects on top.
- Keep drawers slightly open if paint is fresh.
- Avoid aggressive cleaning.
- Use coasters and felt pads.
- Move the piece carefully.
- Follow the product’s cure-time guidance.
This patience matters in small rooms because painted furniture goes back into use quickly. Give the finish enough time to harden before it becomes a daily landing zone.
Pick a color that calms the room
Furniture paint is an easy place to overcorrect. A bright color can be charming on a tiny stool and overwhelming on a dresser. A very dark color can ground a room, but it can also make a small piece feel heavy.
Soft Room Edit usually likes colors that help the piece belong:
- Warm white for lightness.
- Mushroom or greige for gentle contrast.
- Soft sage for a quiet color note.
- Muted clay for warmth.
- Blue-gray for calm depth.
- Inky green-black for one deliberate anchor.
Test the color near your rug, curtains, bedding, and flooring before painting the whole piece. Paint a sample board or the inside of a drawer first. Daylight and evening light can change the color more than expected.
Solve common furniture paint problems
If the finish feels rough, the surface may have dust, thick paint, or poor sanding between coats. Let it dry, smooth lightly if safe, remove dust, and apply a thinner coat.
If paint peels, the surface may not have been cleaned, sanded, primed, or cured properly. Stop and identify the cause before repainting.
If the color looks streaky, add another thin coat after proper dry time.
If the topcoat turns cloudy, humidity, product incompatibility, or heavy application may be the issue.
If drawers stick after painting, the paint may be too thick on contact points. Let it cure, then adjust carefully.
Most problems come from rushing prep, applying heavy coats, or using the piece before the finish is ready.
A calm way to use furniture paint
Furniture paint is best when it supports the room you already have. Choose one useful piece, pick the paint by wear level, handle old finishes safely, clean well, prime when needed, paint thin coats, and let the finish cure.
In a small home, that slower process is worth it. One well-painted piece can soften the palette, rescue a secondhand find, and make the room feel more intentional without buying more furniture.
You might also like

Aluminum Outdoor Furniture: Material Comparison
Compare aluminum outdoor furniture with steel, wood, resin wicker, and plastic before choosing pieces for a compact balcony.

Wicker Outdoor Furniture: Small-Balcony Guide
Choose wicker outdoor furniture by checking resin weave, frame material, cushion storage, weather exposure, and balcony fit.
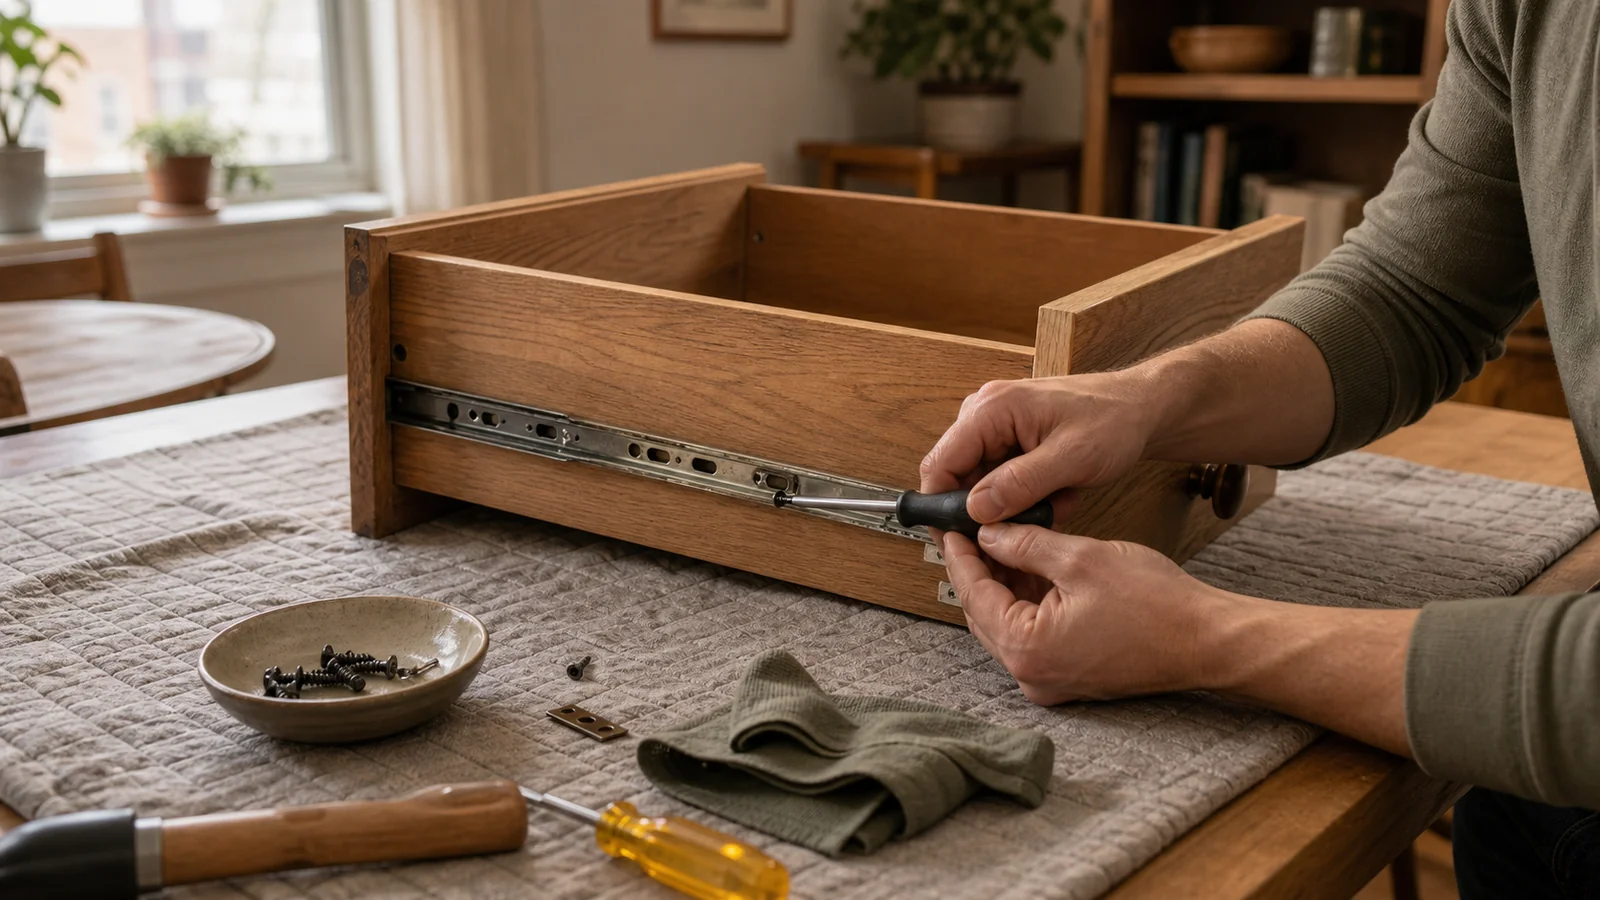
Furniture Repair: Small-Home Fix or Replace Guide
Learn how to assess furniture repair, prepare a small workspace, handle simple fixes, and know when to call a pro.